
Today, we’re introducing a new way to build with OLKIL.
Meet OLKIL CLI.
OLKIL can now run directly from your terminal, bringing the OLKIL AI coding agent into the command-line workflow developers already use every day.
You don’t always need a full IDE to get work done. Sometimes, the terminal is all you need.
Now, OLKIL is there too.
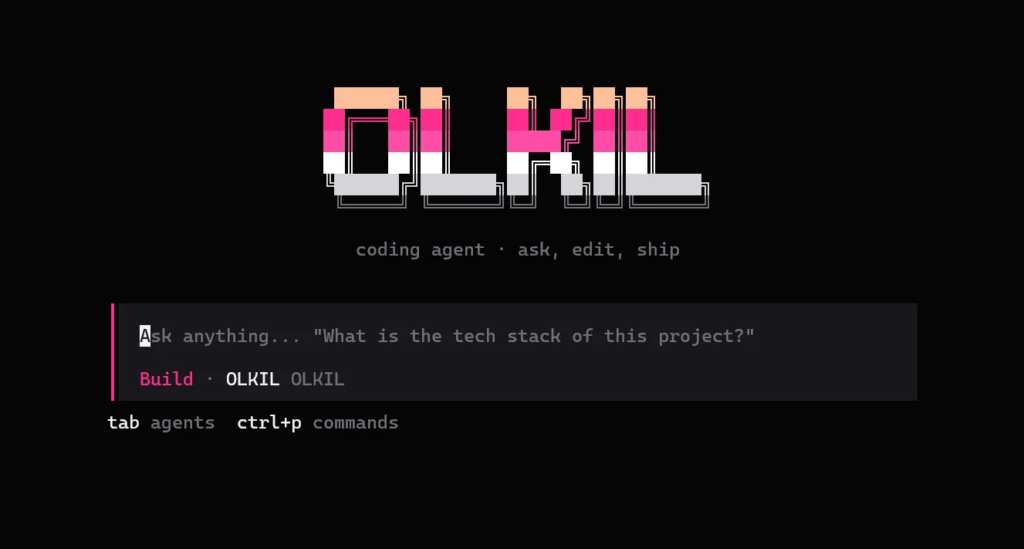
OLKIL Is Now in Your Terminal
OLKIL started as an AI-powered coding environment built to help developers write, understand, modify, and ship software faster.
With the introduction of OLKIL CLI, you can now access the OLKIL agent directly from your terminal.
Whether you’re working on an existing repository, switching between projects, working remotely, or simply prefer a terminal-first workflow, you can launch OLKIL with a single command.
olkilBut first, let’s get it installed.
Get Started with OLKIL CLI
OLKIL CLI is available for Windows, macOS, and Linux.
You’ll need Node.js 18 or newer before installing the CLI.
Windows
Open PowerShell and run:
irm https://olkil.com/downloads/cli/install.ps1 | iexmacOS
Open Terminal and run:
curl -fsSL https://olkil.com/downloads/cli/install.sh | bashLinux
Open your terminal and run:
curl -fsSL https://olkil.com/downloads/cli/install.sh | bashOnce the installation finishes, open a new terminal so the olkil command is available.
Then run:
olkilThat’s your entry point to OLKIL CLI.
Sign In With Your OLKIL Account
When you launch OLKIL CLI for the first time, it opens OLKIL in your browser for authentication.
Continue with Google, and your OLKIL account and plan are loaded automatically.
You don’t need to create a separate CLI account.
Your CLI experience is connected to the same OLKIL account you use with the desktop application.
Pick a Project and Start Building
After signing in, OLKIL CLI asks you to choose the project or folder you want the agent to work with.
This follows the same idea as workspace trust in the OLKIL desktop application.
Once you’ve selected your project, you’re ready to start working with the agent directly from your terminal.
The workflow is simple:
Install OLKIL CLI
       ↓
Open a new terminal
       ↓
Run: olkil
       ↓
Sign in with Google
       ↓
Choose your project
       ↓
Start building
The Same OLKIL Agent, Now in the CLI
OLKIL CLI isn’t meant to be a completely separate coding product.
It’s another way to access the OLKIL agent.
If you already use the OLKIL desktop app, you can now choose between a full IDE experience and a terminal-first workflow.
Desktop IDE when you want the complete workspace.
CLI when you want to stay in the terminal.
The idea is simple: give developers more flexibility without forcing them into a single way of working.
Why Bring OLKIL to the Terminal?
The terminal is already an essential part of software development.
Developers use it to:
- Work with Git repositories
- Install dependencies
- Run applications
- Execute tests
- Manage project files
- Connect to remote environments
- Work over SSH
- Automate repetitive workflows
- Build and deploy applications
For developers who spend most of their time there, having an AI coding agent directly in the terminal makes sense.
Instead of opening another application whenever you need AI assistance, you can simply launch OLKIL from the environment you’re already using.
One Command to Start
After installation, the command is intentionally simple:
olkilNo long command to remember.
No need to launch the desktop application.
Just run olkil, sign in, choose your project, and start working.
Local and Cloud AI
OLKIL CLI also follows the AI options available through OLKIL.
The free Dazzlone plan uses local models, while Lite, Pro, and Ultra provide access to cloud agents with the same plan-based quota used by the IDE.
This gives developers the ability to choose the type of AI workflow that fits their needs.
You can use local AI when you want a local-first experience, or use OLKIL’s cloud agents when you need access to the capabilities included with your plan.
Built for Different Development Workflows
Not every developer works the same way.
Some prefer a graphical IDE.
Some prefer a terminal.
Some switch between both throughout the day.
OLKIL CLI is about supporting those different workflows.
You can use the desktop IDE for a complete development environment with your editor, Git, terminal, debugging, AI tools, and more.
And when you want a lightweight, terminal-first experience, you can use OLKIL CLI.
OLKIL Beyond the IDE
The introduction of OLKIL CLI is another step toward making OLKIL available wherever developers actually work.
AI-assisted development doesn’t have to happen inside one specific interface.
It can happen in an IDE.
It can happen in a terminal.
It can happen wherever your project lives.
With OLKIL CLI, we’re bringing that flexibility directly to the command line.
Available Today
OLKIL CLI is available now for Windows, macOS, and Linux.
If you’re ready to try it, installation takes only a command.
Windows
irm https://olkil.com/downloads/cli/install.ps1 | iexmacOS
curl -fsSL https://olkil.com/downloads/cli/install.sh | bashLinux
curl -fsSL https://olkil.com/downloads/cli/install.sh | bashThen open a new terminal and run:
olkilStart Building With OLKIL CLI
We’re excited to introduce OLKIL CLI and give developers another way to work with OLKIL.
If the terminal is where you feel most productive, OLKIL can now work there with you.
Install it. Run olkil. Pick your project. Start building.
Try OLKIL CLI today:
OLKIL — AI coding, wherever you work.
— Team OLKIL